Skip to main content
Search
Search This Blog
My Pseudocode Life
Pages
Home
More…
Posts
Featured
April 04, 2024
Game Dev Talk @ Kwantlen Polytechnic University
Latest Posts
September 28, 2017
Project H.O.R.D.E.
December 12, 2014
Tech Demo @ Google Play
November 25, 2014
Second Version of Our NVIDIA Tegra K1 Techdemo
October 20, 2014
Our Engine Running on NVIDIA Tegra K1
November 04, 2013
Back into R&D Mode YEY!
March 08, 2012
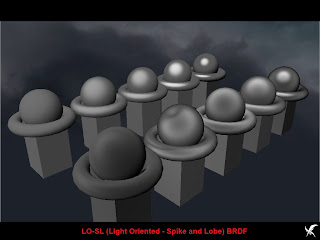
LO-SLD BRDF (LO-SL BRDF on blazed!)
May 05, 2011
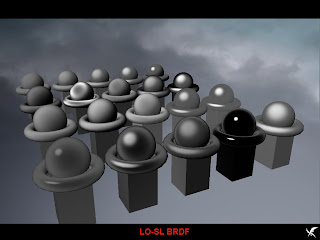
LO-SL BRDF Showcase
August 18, 2010
LO-SL BRDF Additional Test Materials
August 15, 2010
LO-SL BRDF Explained... (Part 2)
July 12, 2010
LO-SL BRDF Explained...
Older Posts